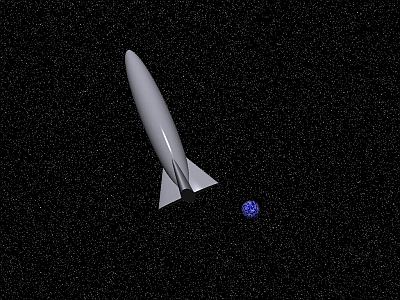
A few weeks ago one of the podcasts I subscribe to (FLOSS Weekly) had a episode about a ray tracing program called POV-Ray. The people being interviewed in that podcast were so enthusiastic about their software that I decided to give it a try.
It’s a free, open source product and I found it has good documentation too. Anyway, I’ve been playing with it for a while, mostly going through the tutorial and doing the examples. Finally I decided to try something original and here is the result.

This is a very simple image though I hope to embellish it as I learn more about the program and how to use it.
The great thing about POV-Ray (at least to me) is that it is all done with software and written in a “scene description language.” It’s very much like programming in any other language except that the output is rendered into an image. I’ve tried creating images from scratch using Photoshop or other image editors but I never could get the hang of that. With this I can work in a way I am familiar with.
All the images created are 3-dimensional and it’s easy to change the viewpoint and lighting to get the best looking results. Also there are many pre-defined elements such as the background stars and the planet’s sky in my little example.
Anyway, if any of you are interested, you can download the program for most OS’s (Windows, Mac, Linux and others) and just play around with it. It comes with a lot of pre-coded examples that you can have fun with. If you want to listen to the podcast that got me hooked you can download it here. It is an MP3 about 32MB in size.
Hmm..this is way above me but it certainly has occupied your time during the day for the last week or so. Could you explain what a ray tracing program is? I’m sure many people know but your wife certainly doesn’t and, watching how you have progressed from a simple line to the picture on your blog, I’d like to know what you are doing.
Good question Jan. Here is what the POV-Ray tutorial says in the section “What is Ray-Tracing?”